Most people avoid using FTP by using Fantastico to install WordPress or by using WordPress to upload all of their content. While those methods are fine, there may be an occasion where you will need to use FTP (file transfer protocol) to upload files to your site, download backups from your site, or manually install something. When that time comes, follow these instructions to FTP to your web host:
Step 1: Gather Your Login Information
Typically, your login for using FTP will involve three things:
- Your domain or login URL, typically something like yourdomain.com or ftp.yourdomain.com
- Your username
- Your password
The login procedures can vary depending on web host, so check with your host for FTP information. For example, your ftp login is the same as your cpanel login on Hostgator, but on Bluehost they are different.
For FTP instructions on some common hosts, check out these links:
Step 2: Choose a FTP Program
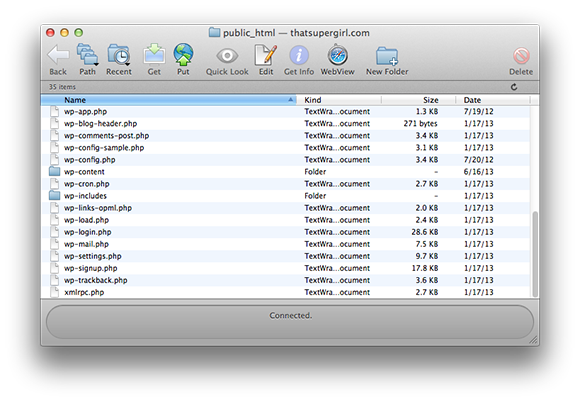
There are many programs to chose from, and not one solution is right or wrong. I happen to use Fetch, as you see in the screenshot below, because it is what I have been using for years and I like it. I’d just pick out one (or more) applications from the list below, and try it out to see if you like it.

For Mac:
For Windows:
Step 3: Get to It!
The basic functions you might use in FTP are upload, download, rename and edit. Uploading takes a file from your drive and puts it on the server. Download takes a file from the server and puts it on your drive. Rename just changes the filename, while edit allows you to make changes to a file.
One note of caution: FTP is a permanent solution, so use it wisely. If you overwrite files or delete them, there is no undo to get them back. If you upload a file to the server that has the same name as the file on the server, it will overwrite the file (and without confirming your intention). You can break your entire site with a few clicks, so be careful! If something does go wrong, you may be able to restore files from backup — but only if your site is properly backed up!